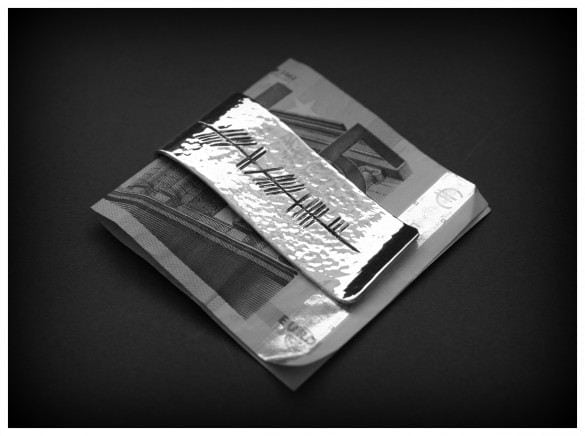
This week I've been working on a sterling silver money clip for a customer. This clip is used like a wallet to hold your notes and bills. The customer wanted the money clip finished in a hammer marked design with an engraved Ogham inscription on the back of the clip. As this is such a lovely simple design in solid silver I always think it's nice to make a feature of the hallmark. I have a bigger maker's mark punch which I use for silver napkin rings and bowls which also works really well on a piece like this. I begin by measuring out the sheet of silver.
This needs to be exaclty right as once I start bending and forming the money clip there's no going back! That's why I double check all the angles to make sure they are straight and my measurements are correct. Then I use my makers mark to stamp the silver sheet, at this stage it's ready to go for hallmarking. When it comes back from hallmarking I can begin working on the surface and forming the money clip.


As this is will have a hammer marked finish it's now time to start working on that. I know it may seem odd to being applying the finish when the piece isn't really made but in this case it's essential. Firstly I make sure the surface is brought to a highly polished finish then I can start work on the planishing. The planishing needs to be done on a flat surface so the perfectly polished hammer head can make contact with the silver and leave that lovely marked finish.
As the money clip is being formed there is no opportunity to have the silver resting on a perfectly flat surface without damaging the curves of the clip. So very precisely I start working my way along the silver leaving the perfectly rounded mark of the hammer. By marking out my lines exactly and creating careful scribe lines I use this as a guide to being bending. With a few careful bends the money clip starts taking shape and maintains the tension in the silver so it works as a clip. Here is the finished piece with the Ogham engraving.


